{"id":"", "email":"","default_address":null,"first_name":"","last_name":"","name":"" }
{"domain":"plank-and-mill.myshopify.com" }
Tutorials
You've Got This. We're Here To Help.
How to get started with Plank & Mill planks

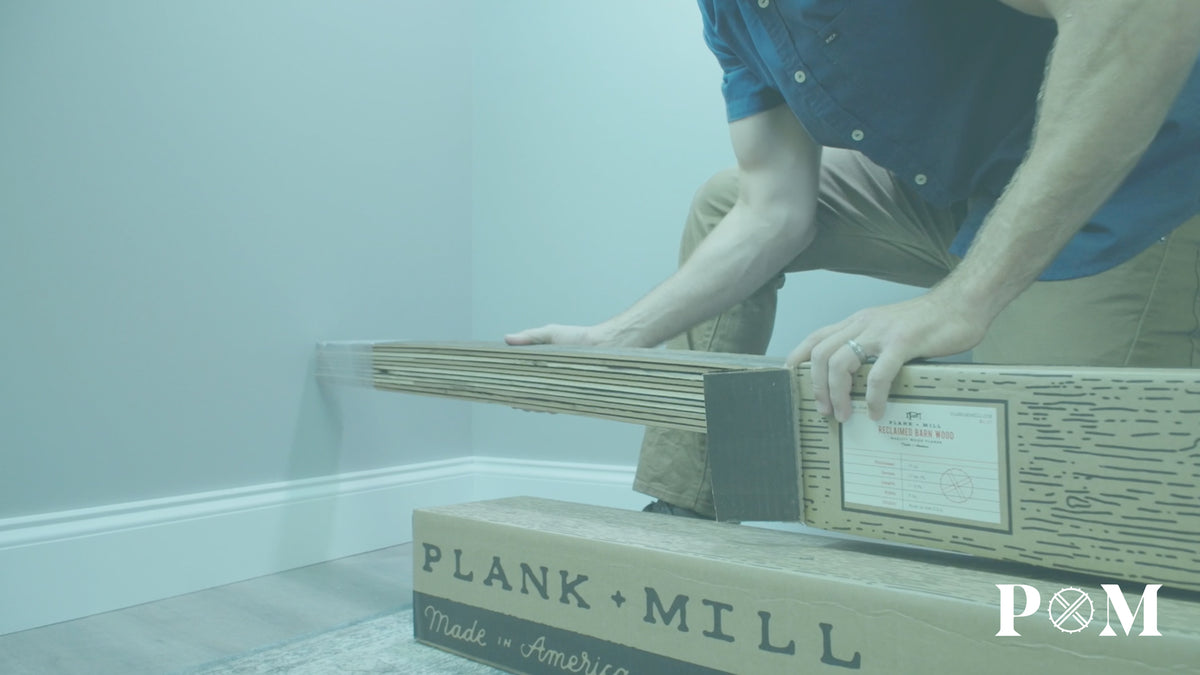
- 1. Once your Plank + Mill boxes arrive, open one end of the cardboard box and remove the bundles. Each bundle includes 10 square feet.
- 2. To allow the planks to acclimate place them in the area in which you are installing for 48-72 hours. Leaving the ends wrapped with plastic. If you are in a drier climate--say, Arizona--give it an extra day.
- 3. To begin, clean your surface of all debris with a damp towel or vacuum attachment and ensure it is completely dry.
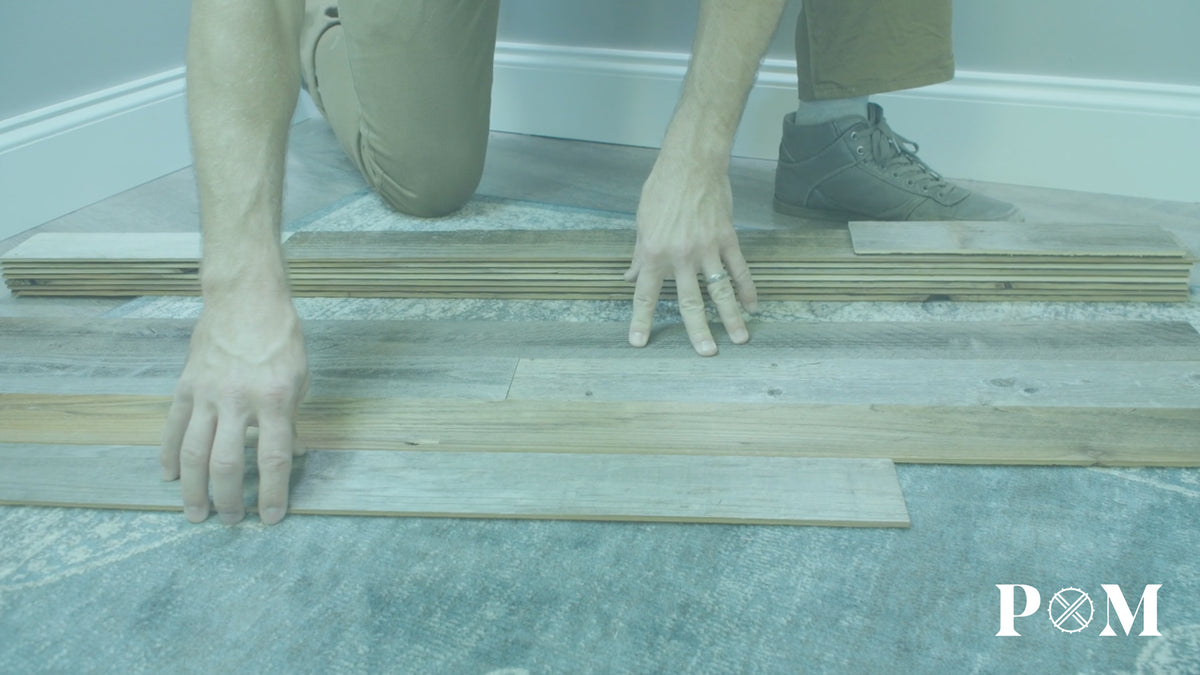
- 4. Remove the plastic from the ends of all your bundles and layout your pattern on the floor. Be sure to incorporate planks from different bundles to create a mix of colors.
- 5. We recommend beginning your project in the bottom corner and working your way up.
How to stagger planks

- 1. Each Plank + Mill reclaimed wood wall pack will include wood pieces in varying increments of 1 foot, 2 feet, 3 feet, and 4 feet long.
- 2. Lay out 3 to 4 rows at time on the floor, starting each row with a different length plank. As you start to create your desired pattern pay special attention to the color composition.
- 3. Start installing your project in the lower corner of the wall.
- 4. You may also use the excess pieces cut from the end of the previous row to start the next one. This helps to maximize your square footage.
How to install around outlets and switches

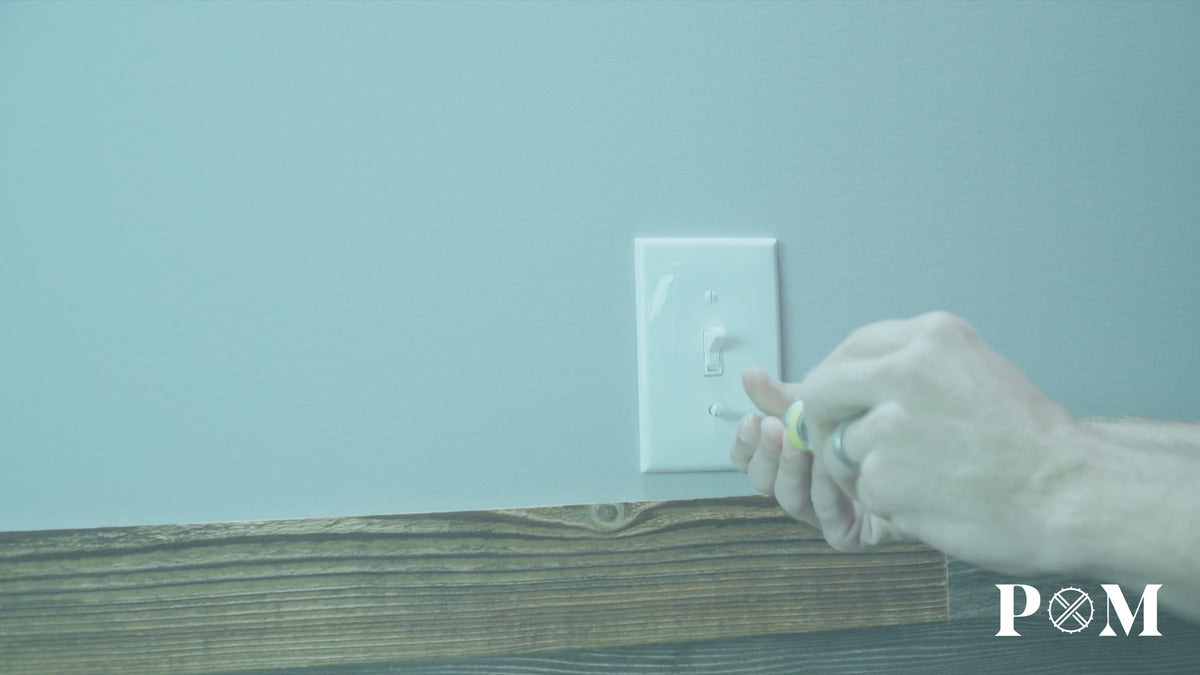
- 1. First, turn off the breaker that connects to the outlet or light switch with which you are working. It is important to ensure there is no electricity running to the area you are handling.
- 2. Mark the plank where cuts need to be made in order to be flush with the electrical box.
- 3. Using a utility knife, handsaw, jigsaw, or miter saw, cut the plank on the marks indicated.
- 4. Before removing the adhesive backing, ensure your newly cut plank properly fits around the switch. Then, remove the backing and place the plank around the outlet or switch and apply pressure until the plank has adhered to the wall.
- 5. TIghten the screws to secure the switch and replace the faceplate.
- 6. Turn the breaker back on and you're done!
How to install around corners

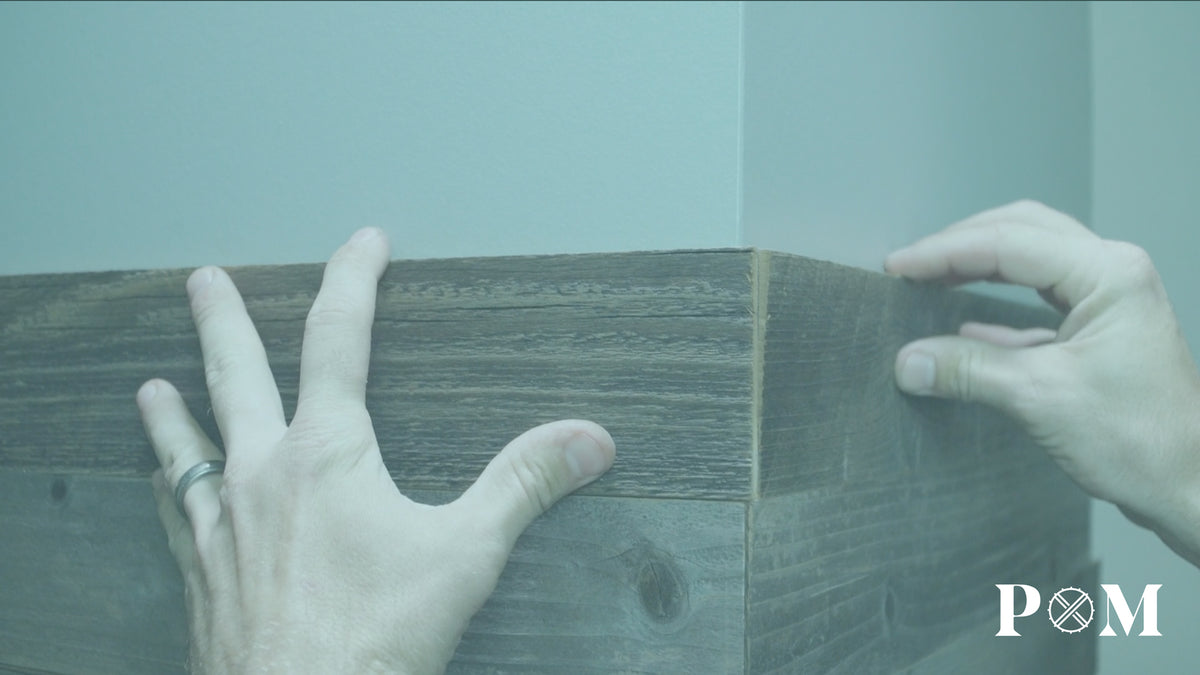
- 1. This will ensure a tight fit take the piece you want to overlap, cut ¼ inch of the adhesive backing and remove from the piece.
- 2. Temporarily hold the this piece in place to ensure proper placement while installing the opposite side.
- 3. Remove the backer from the remaining adhesive and adhere it flush against the other piece.
- 4. Finally to disguise the cut piece use a pencil to color the edge.
Various cuts and measures

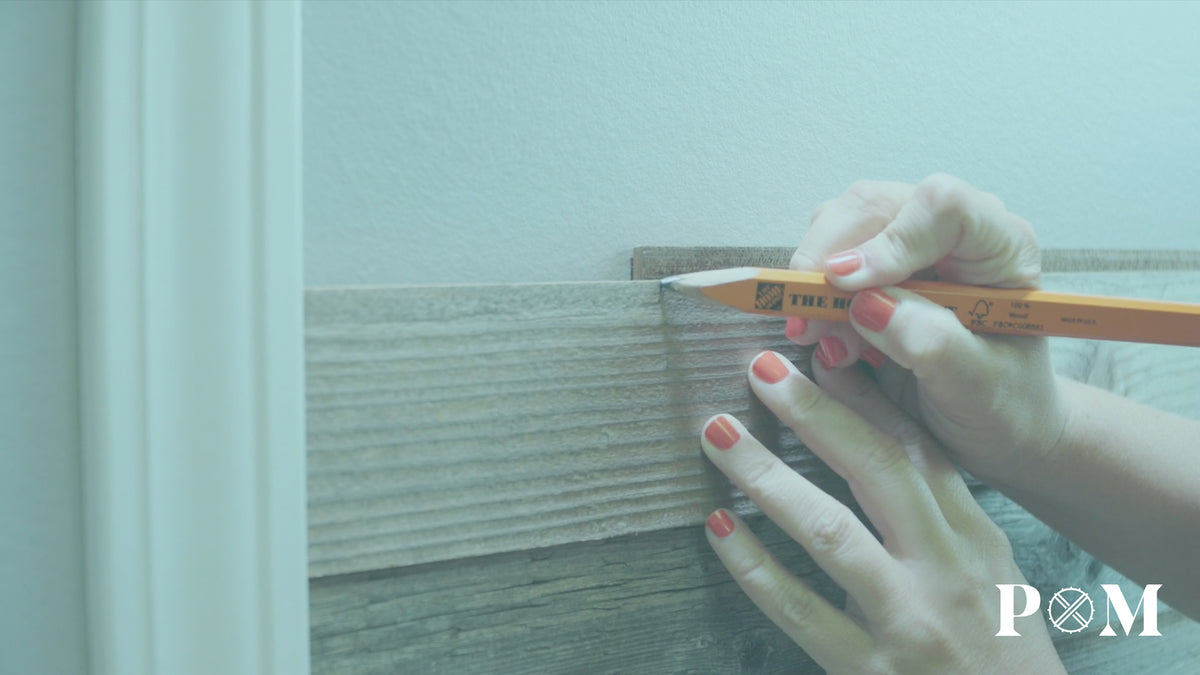
- 1. When you’re at the edge of the wall and need to make a cut, we recommend aligning the next board to the edge of your project and mark the end where a cut is needed.
- 2. Extend the line across the board and cut using one of the following cutting methods:
- 3. There are multiple ways you can cut your planks. Using a utility Knife make multiple passes along a straight edge to score the plank. Then, place it on the edge of a solid surface and snap the piece. Using a handsaw with a mitre box align your mark and make the cut. Using a jigsaw, make sure your piece is supported then cut along the mark using a square as a guide. Or for the most professional results we recommend you use a miter saw.
Wood Pressure

- 1. The wood planks utilize a pressure sensitive adhesive, so it is important to dry fit the planks to the space to ensure fit and placement before you adhere them.
- 2. Remove the backer of the pressure sensitive adhesive, place your piece to the surface, and use firm pressure along the entire face of the board.
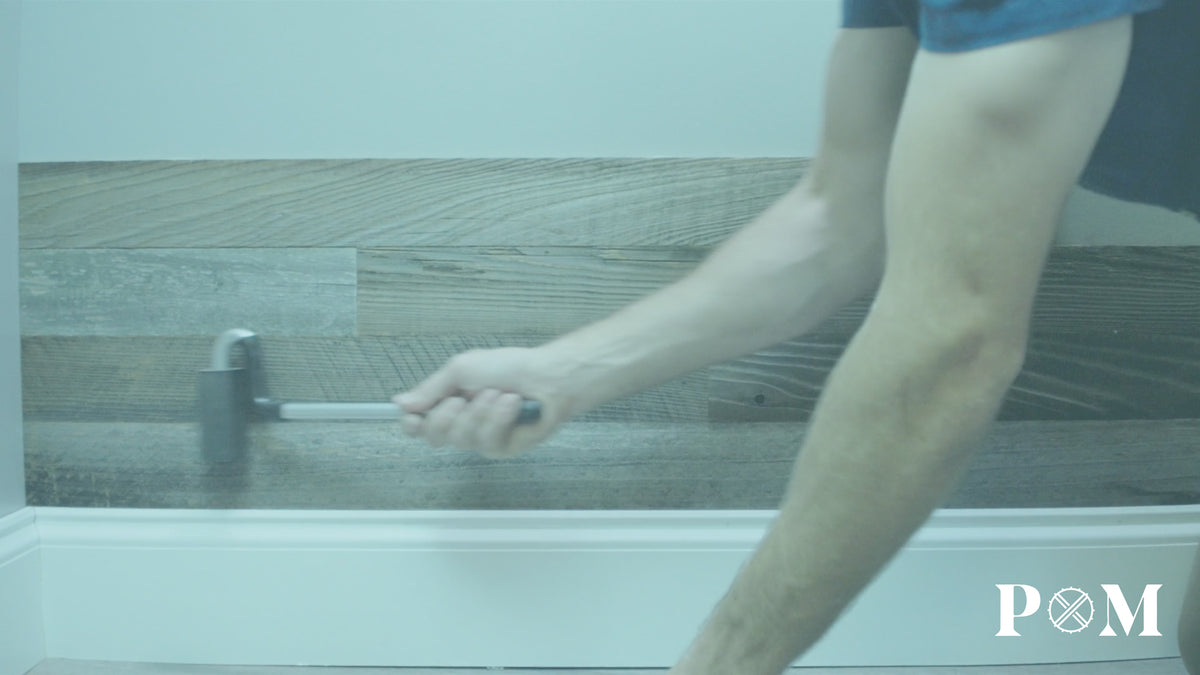
- 3. Once you have installed a section, we recommend going back over the surface with a J roller or laminate roller to ensure a steady, even pressure is applied to the entire wall.
How to cut planks lengthwise

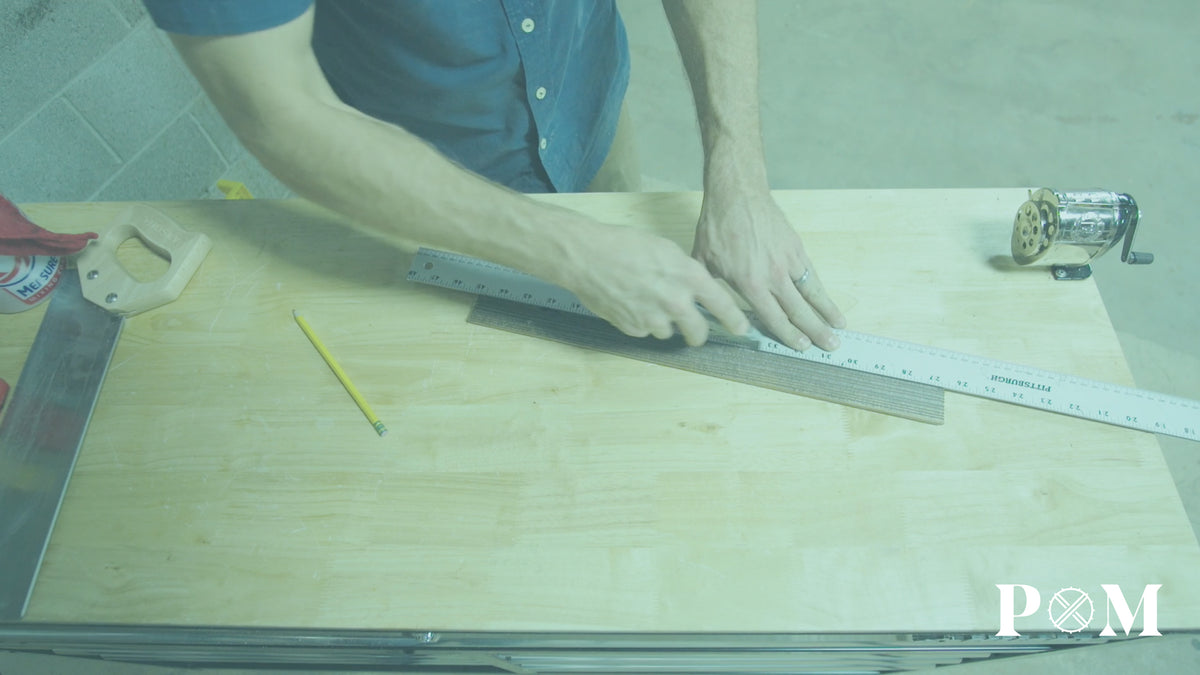
- 1. To begin place the board in the space where it needs to fit and mark the width on both ends.
- 2. Use a straightedge to connect the two marks.
- 3. With a utility knife, make multiple passes along the line to cut through the board. Be sure to cut through the adhesive, as well.
- 4. Before removing the adhesive backing, dry fit the piece in the space to ensure a proper fit.
- 5. Lastly, remove the adhesive backing, place the piece and apply pressure.
How to install planks in area with an unfinished edge

- 1. This video will show you how to install plank and mill wall planks starting in the middle of a space rather than at the edge or corner.
- 2. Using a level, draw a straight, vertical line where you wish to begin your pattern.
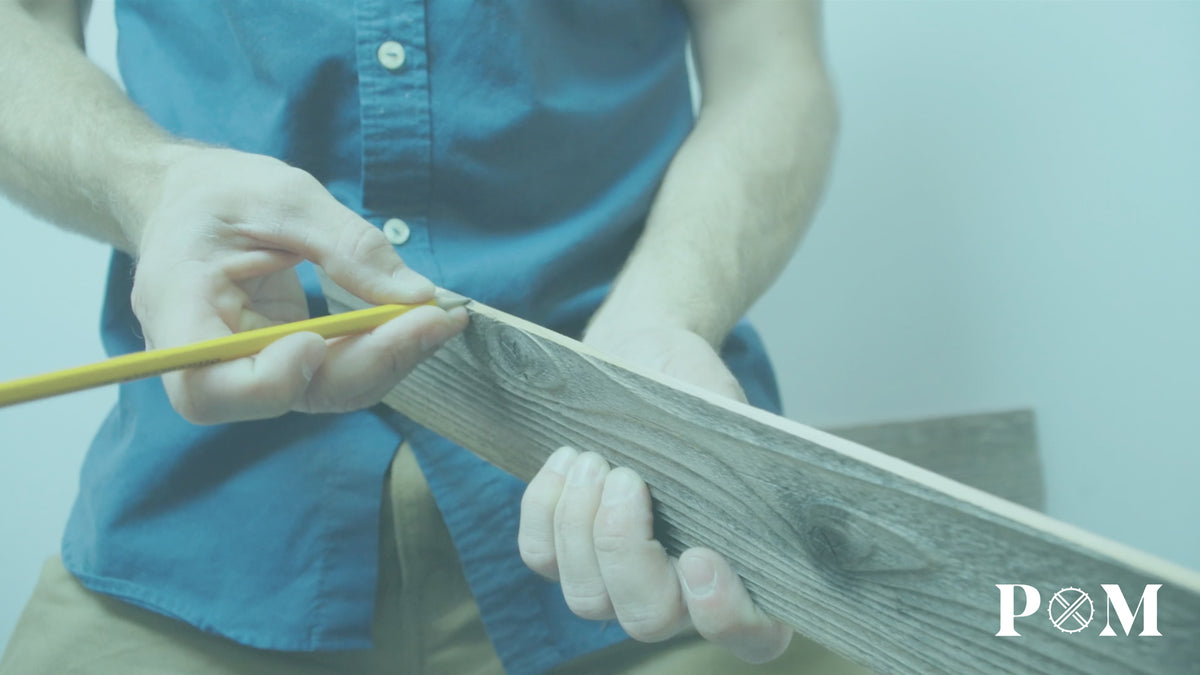
- 3. Since in this installation the lighter sawn edge will be visible, use a pencil to color the exposed side to give it the same weathered grey look as the front. This will give your project a more finished look.
- 4. Place this plank vertically along the line to use as a border for the area to be covered with the planks. Begin staggering your pattern, just as you would if you began in a corner.
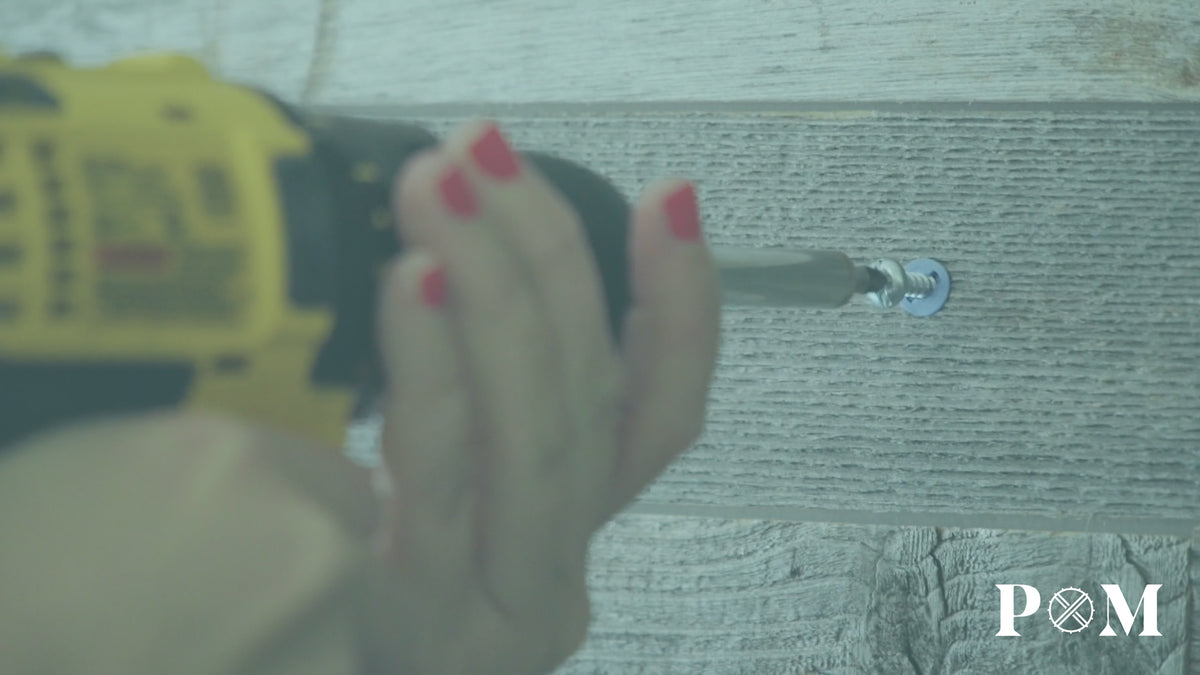
Hanging Objects

- 1. Once your wood wall is in place, you may want to hang pictures, mirrors, or other accessories on the surface. Use the following methods and do not rely on the wood planks to hold the weight of your object.
- 2. Predrill through the wood and drywall. Then, use an anchor to hold your piece in place. There are two common types of anchors.
- 3. Zip Anchors: Place the anchor in the hole and lock it into place by pressing in the plastic cap Then remove the remaining zip ties and insert the screw.
- 4. Screw-in Anchors: Push/hammer the anchor into the hole and screw your piece in. Once the anchor is in place, hang your favorite accessory against the reclaimed wood wall and VOILA!