Welcome to our new tutorial series! Every month we will troubleshoot a common challenge during the install process. Spoiler alert: They are all easily solved and you can find all of these tutorials in one place on our website. But if you’re more like me, and like a little dose of DIY expertise at a time, follow along with us right here on the blog!
First up, outlets and switches.
INSTRUCTIONS
1. First, turn off the breaker that connects to the outlet or light switch with which you are working. It is important to ensure there is no electricity running to the area you are handling.

2. Mark the plank where cuts need to be made in order to be flush with the electrical box.

3. Using a utility knife, handsaw, jigsaw, or miter saw, cut the plank on the marks indicated.


4. Before removing the adhesive backing, ensure your newly cut plank properly fits around the switch. Then, remove the backing and place the plank around the outlet or switch and apply pressure until the plank has adhered to the wall.


5. Tighten the screws to secure the switch and replace the faceplate.


6. Turn the breaker back on and you're done!

Now that you’re basically a reclaimed wood install ninja, let’s get your project going! You can find all of our easy-to-install peel and stick projects right here on our website.
Your Turn
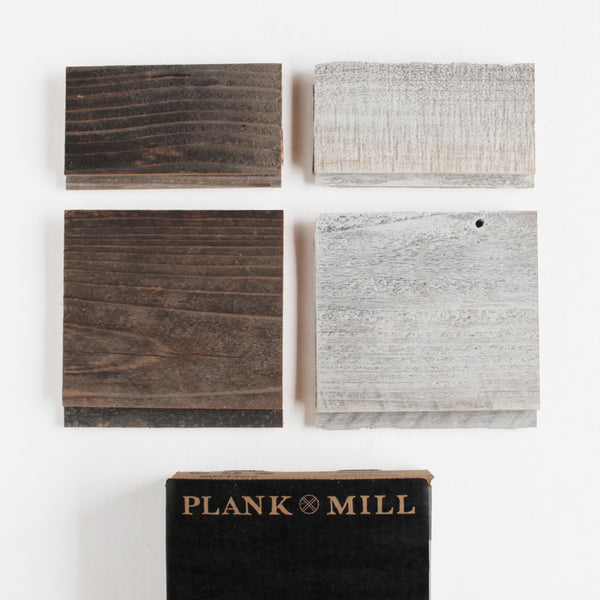
If you're ready to live in walls you love, click here to claim your free sample pack. Each sample box comes with two samples of our white wash planks and our reclaimed planks in both the three inch and five inch widths. You can walk these planks around your home see how the look in different light and against different colors. You'll also receive a design booklet & other goodies to help you make your DIY dreams a reality. Our peel and stick wood planks are just as easy as they seem!