One thing I have been loving recently is seeing the different ways our customers stagger our planks to achieve a different look. Today on our tutorial series, it’s all about the stagger my friends. Before we get to the video, here’s a few layout patterns our customers have used in their spaces, but really, the possibilities are endless.
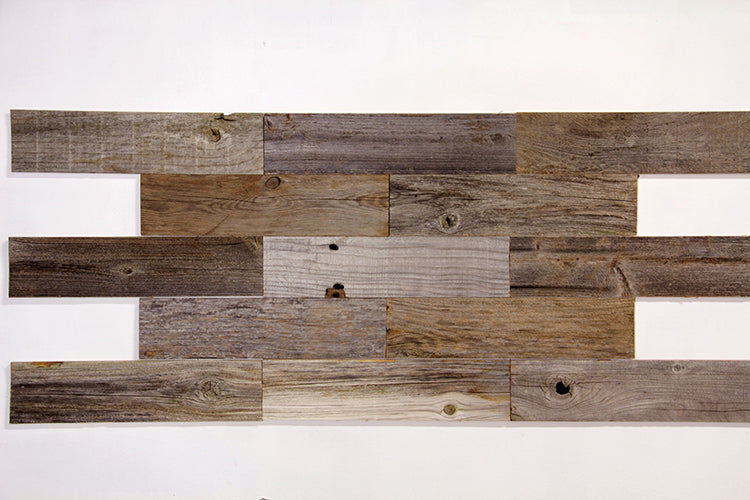
Horizontal layout with standard planks

This look is classic farmhouse, and you can’t go wrong with a classic.
Horizontal layout with herringbone planks

You can use this pattern if you’re going for more clean lines and repeating pattern -similar to the look of subway tile on a backsplash.
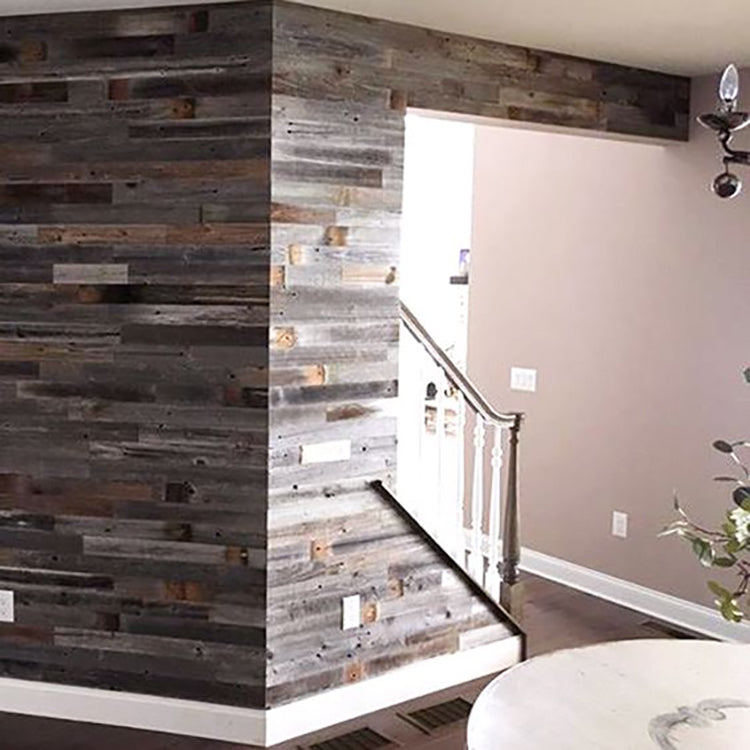
Vertical layout
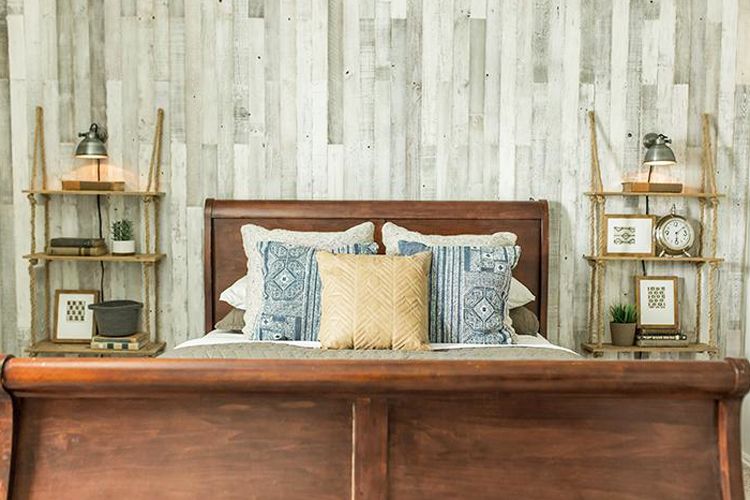

I love how much light these whitewash planks added to this room. The vertical install keeps the room feeling open and airy.
Diagonal layout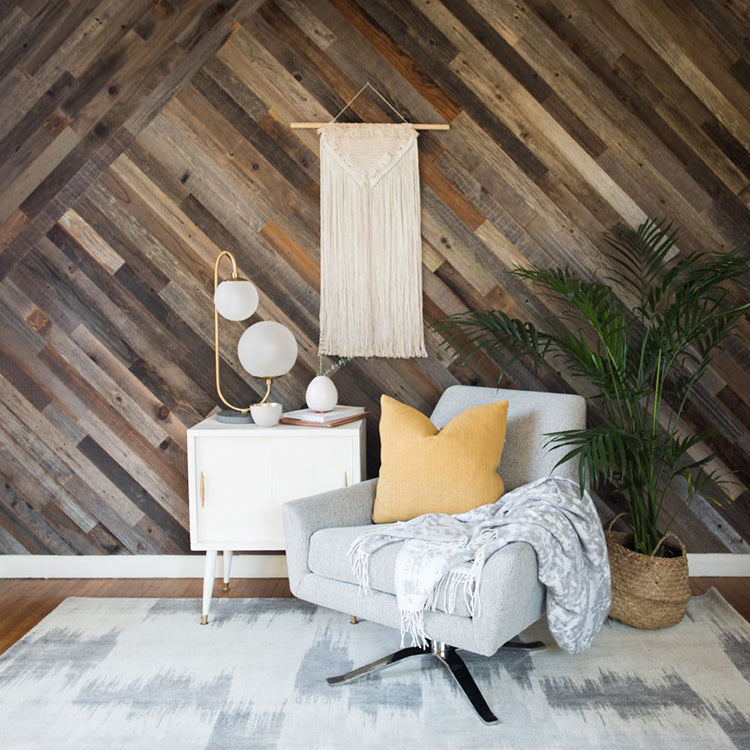

This diagonal install using our reclaimed wood planks on this feature wall adds so much interest to this space. I think I’m falling for that modern vibe!
Herringbone


If your room is feeling like it needs to make a statement, go with herringbone! This pattern is timeless and can make a big impact in a small space.
Stagger DIYHow to Stagger Peel and Stick Wood Planks on a Wall from Plank and Mill on Vimeo.
- Each Plank + Mill reclaimed wood wall pack will include wood pieces in varying increments of 1 foot, 2 feet, 3 feet, and 4 feet long, unless you order our herringbone pattern pack, in which all pieces are cut to the same length.
- Lay out three to four rows at time on the floor, starting each row with a different length plank. As you start to create your desired pattern, pay special attention to the color composition. Since each of our reclaimed wood planks is just that- reclaimed, each piece will vary in color and you’ll want to make sure you are using a variety as you go.
- Start installing your project in the lower corner of the wall.
- You may also use the excess pieces cut from the end of the previous row to start the next one. This helps to maximize your square footage.
Have a great pattern in mind? Show us what you’ve got! We love seeing you get creative with our planks.
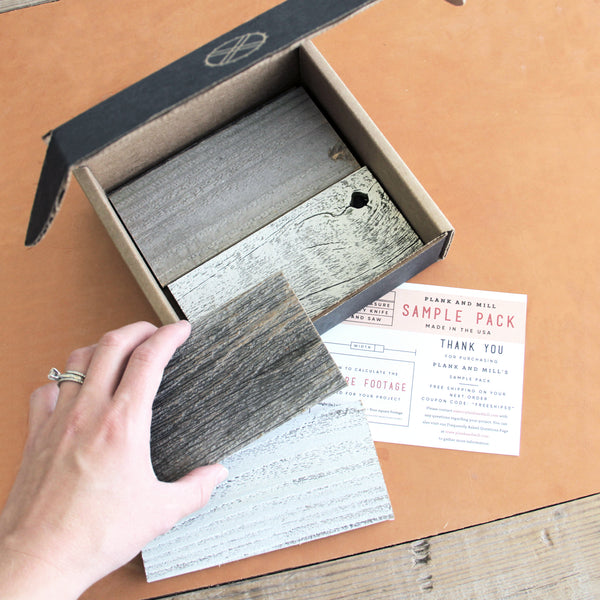
Sample Packs
If you’re still not sure how you would want install your reclaimed wood wall, click to snag yourself a sample pack for free! It’s the best way to get a feel for how our barnwood planks would work in your own space. You can try out our different sizes and colors and you don’t even have to change out of your pajamas or brush your teeth, our reclaimed wood won’t care.
Can’t wait to see what you do with your space!
-Cassie